How to properly sew the documents thread: photo step by step
How to sew the documents to thread?
The problem of firmware is interested in primar than the employee, in the official instruction of which this duty is prescribed. Most often, the burden of this "craft" falls on fragile shoulders of personnel and accountants. It is very important to hone my skills: the wrong firmware may be the source of various problems if any important sheet disappears from the documentation.
Dear readers! Our articles tell about typical ways to solve legal issues, but each case is unique.
If you want to know how to solve exactly your problem - contact the online consultant form on the right or call the phone +7 (499) 703-51-68 it is fast and free!
So, how to properly sew the documents with thread (step by step) and why do you need?
Mainly in the office work, personnel and accounting documents are stitched, which should be kept for more than ten years. The constituent documents and applications in the FTS since July 2013 are permitted to submit for registration and not stitched.
How to properly sew the documents thread: photo step by step
Step 1. Complete set
- Make sure that there are no more than 250 sheets in the resulting pack, and its thickness is less than four centimeters.
- Add a blank sheet for the accompanying inscription to the block. At the beginning, you can additionally attach sheets for internal inventory.
- The parameters of the archive book are a maximum of 32 x 23 cm.
Step 2. Numbering
Use a special numbering or black pencil. Slip page numbers. Their place is in the upper right corner of the face. Figures should not intersect with basic text. Inventory at numbering per page is not considered.
If there is a sheet in a pack, which is not included in the format, it is possible to svew it in one edge and fold, but to numbered as one sheet. But if the folded sheet is late for the middle, it must be considered for two sheets. Illustrations are numbered on the back of the sheet.
Step 6. Firmware
Documents with large storage time storage are allowed through, along with a cardboard cover. However, the generally accepted procedure is to begin to be laid from the sheet, coming after the binding.
Put the cardboard strip on the first sheet. It will protect the thread from rapid wear.
Documents are broken twice.
At three punctures: Start sewing paper from the back, from the middle puncture, leaving about 7 cm thread. 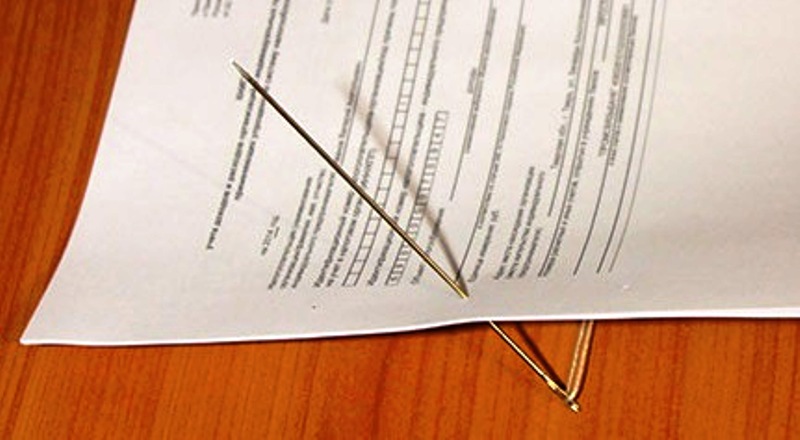
From the front side, enter the thread into the upper hole.
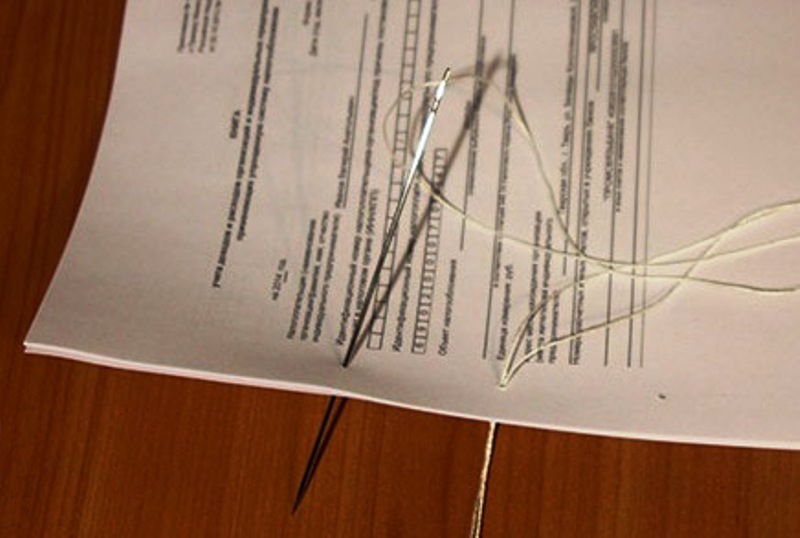
The needle was behind; Send it to the bottom puncture.
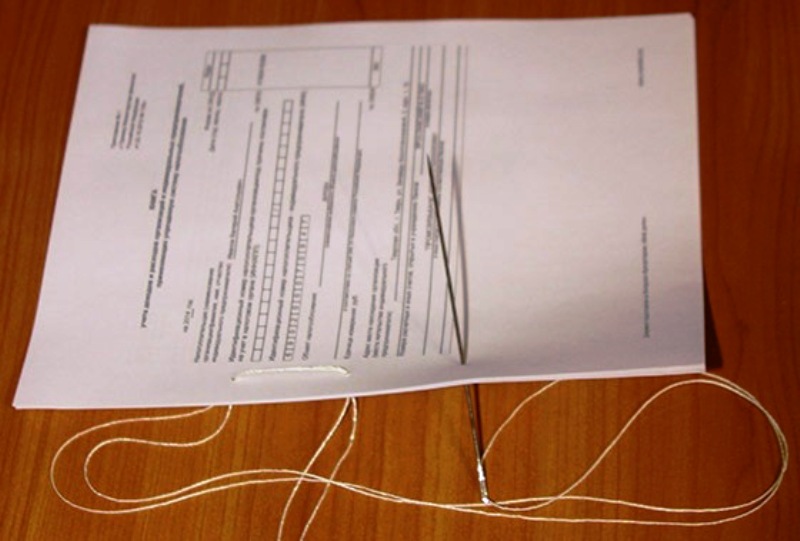
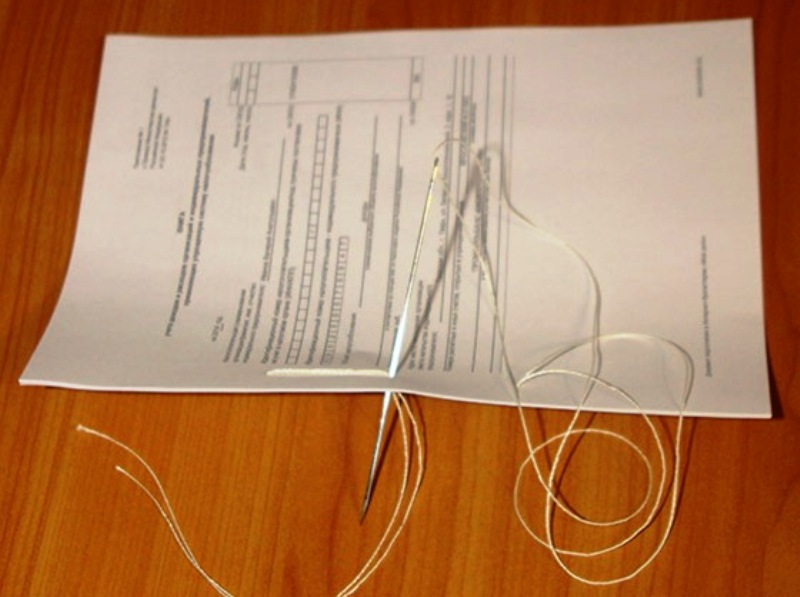
Leave also at least seven centimeters of the thread. This thread residue is connected with the previous residue and tie the nodule.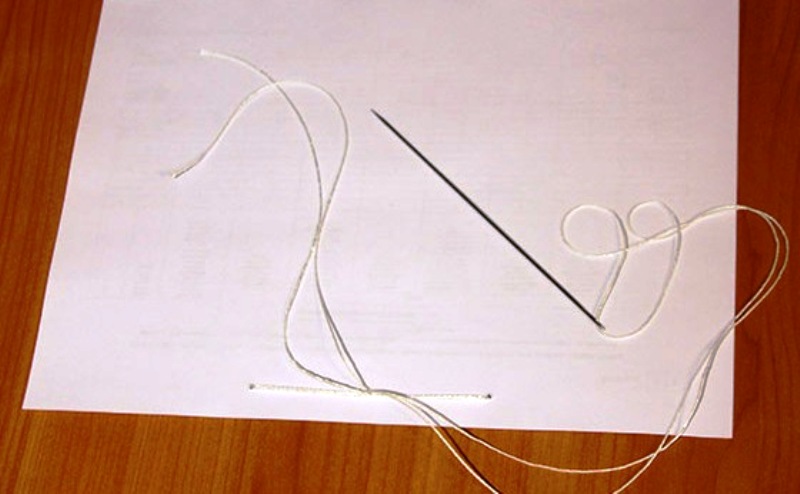
Four punctures: Start sewing from the second prolque. Then enter the needle to the upper hole and then again to the second top.
Then the needle should get into the third hole and, further, from the back side - in the fourth. Finally, enter the needle in the third puncture from the front side.
After tying, the nodule should remain 5 - 6 cm free threads.
Step 7. Sealing and Consideration
A piece of cigarette paper is stirred so that it turned out to be blocked and the node, and some of the hanging threads. Dense paper for these purposes cannot be used: the nodule should be clearly visible.
The ends of the threads should hang out freely. When the glue is dry, you need to make a witness inscription: "Fascotched, numbered, fastened by signature and print ___ (_______________________) sheet ___".
Signature decrypt necessarily. It should go beyond the gloves. Also printing.
If there are no prints in print, you can do without it. You can take advantage of the wax seal.
Mastic print printing from above is fixed by stationery glue. When the documents are delivered to the registering authority, you have the right to choose whether to stake them.
Until the FNS publishes a specific order with a ban on this action, it is not worth lazy to sew the firmware needle documents. In the case of the design of archival volumes of laziness and should not be at all.
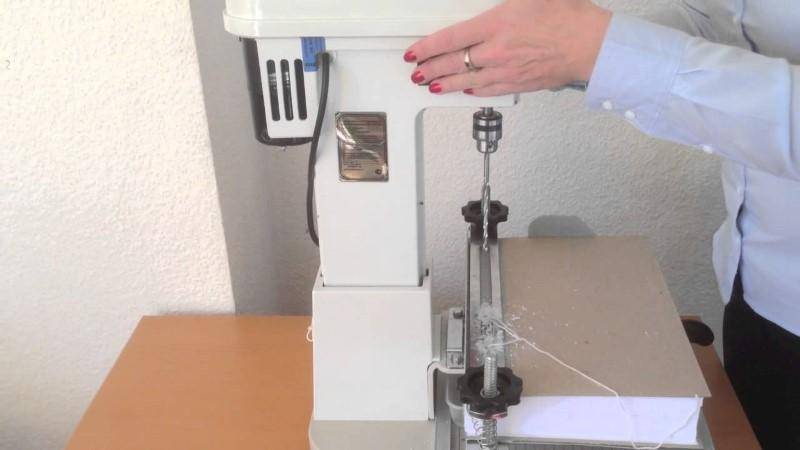
How to cross documents more than one sheet? See the following video lesson:
